Cole and Alina Fury Mods for Jade the Dragon Snuggler
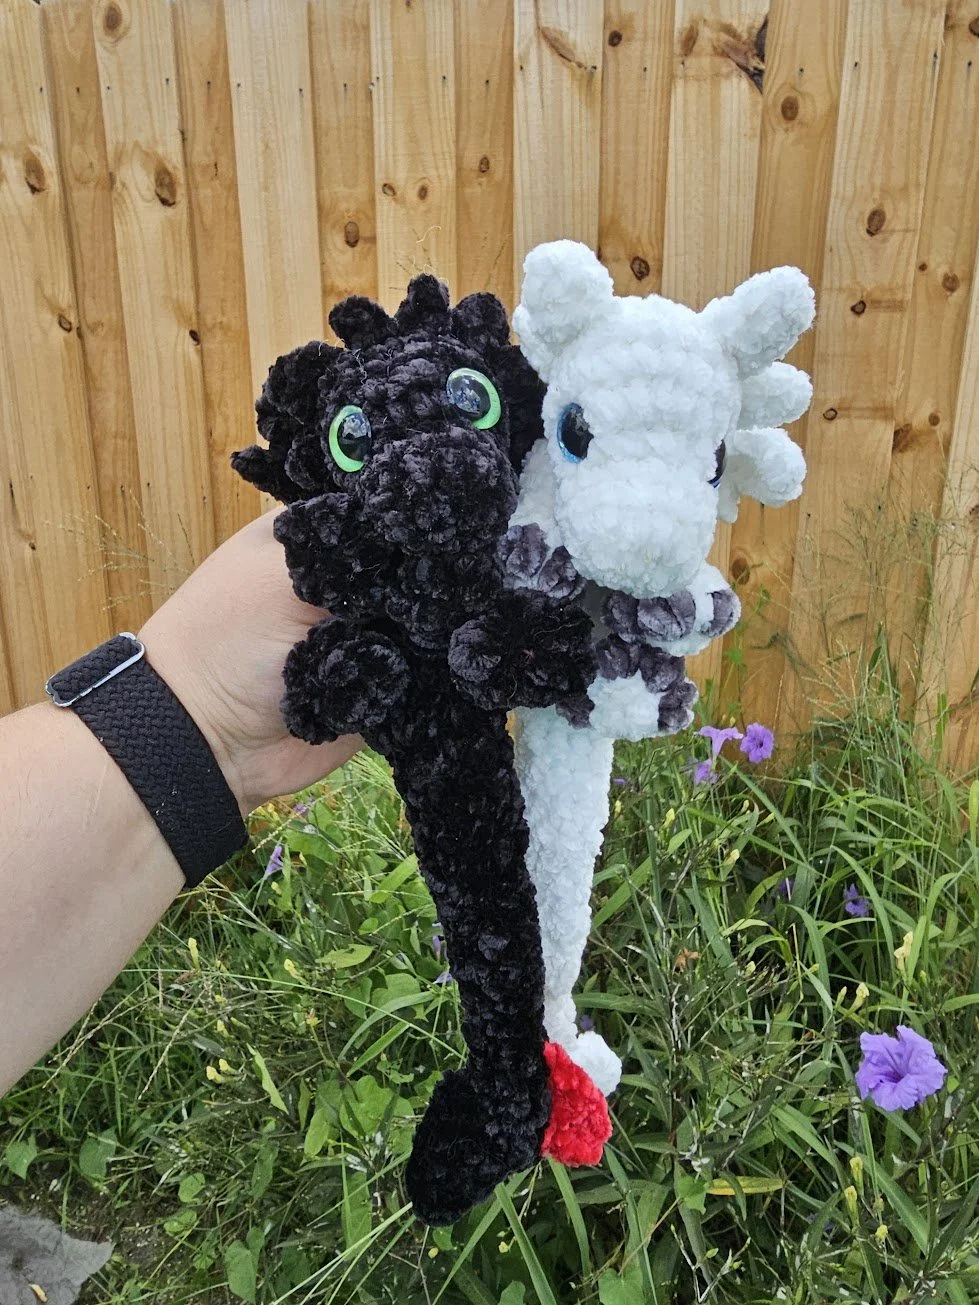
Cole and Alina are the first mods I have made for my Jade the Dragon Snuggler Pattern. On this page is the free pattern for Cole and Alina, but you will need the Jade pattern to complete it. You can also purchase a PDF printable version in my shop.
Stitch Abbreviations/Special Stitches
Sc: single crochet
Ch: chain
Ss: slip stitch
Hdc: half double crochet
Inc: increase (place 2 stitches in the same stitch)
Hdcinc: 2 hdc in same stitch
Dec: decrease over 2 stitches, I like to use invisible decreases
Hdcdec: decrease 2 hdc over 2 stitches
Bbl: bobble, work 2dctog in one stitch. (Bobbles may need to be pushed out to other side of your work.)
FO: fasten off
[]: Stitches in these brackets go into the same stitch
Notes
This pattern is written in US terminology.
This pattern is a modification of the Jade the Dragon Snuggler Pattern. You will need that pattern in order to proceed.
This pattern is worked in continuous rounds unless otherwise stated.
Each part starts with a magic ring unless otherwise stated, but you can use the ch2 starting method if you prefer. You can also use regular acrylic yarn to make your magic ring if you have trouble with the chenille yarn. To ensure the magic ring is secure, I like to crochet several stitches in round 2 over the tail.
I highly recommend using a stitch marker to keep track of the first stitch of each round
When working into a chain, I like to go in the back humps of the chain rather than the side. It makes the edges look neater.
() at the end of a round/row indicate the stitch count for that round/row
This pattern is mostly low sew, but you can sew the pieces on if you’d prefer.
Please if you have any questions or need clarification on any part, reach out to me and I will help! You can contact me at wolvyncreations@gmail.com or @wolvyncreations on Instagram
Materials
Yarn in 2 colors.
Color A (Cole): Bernat Velvet in Blackbird
Color B (Cole): Bernat Velvet in Red
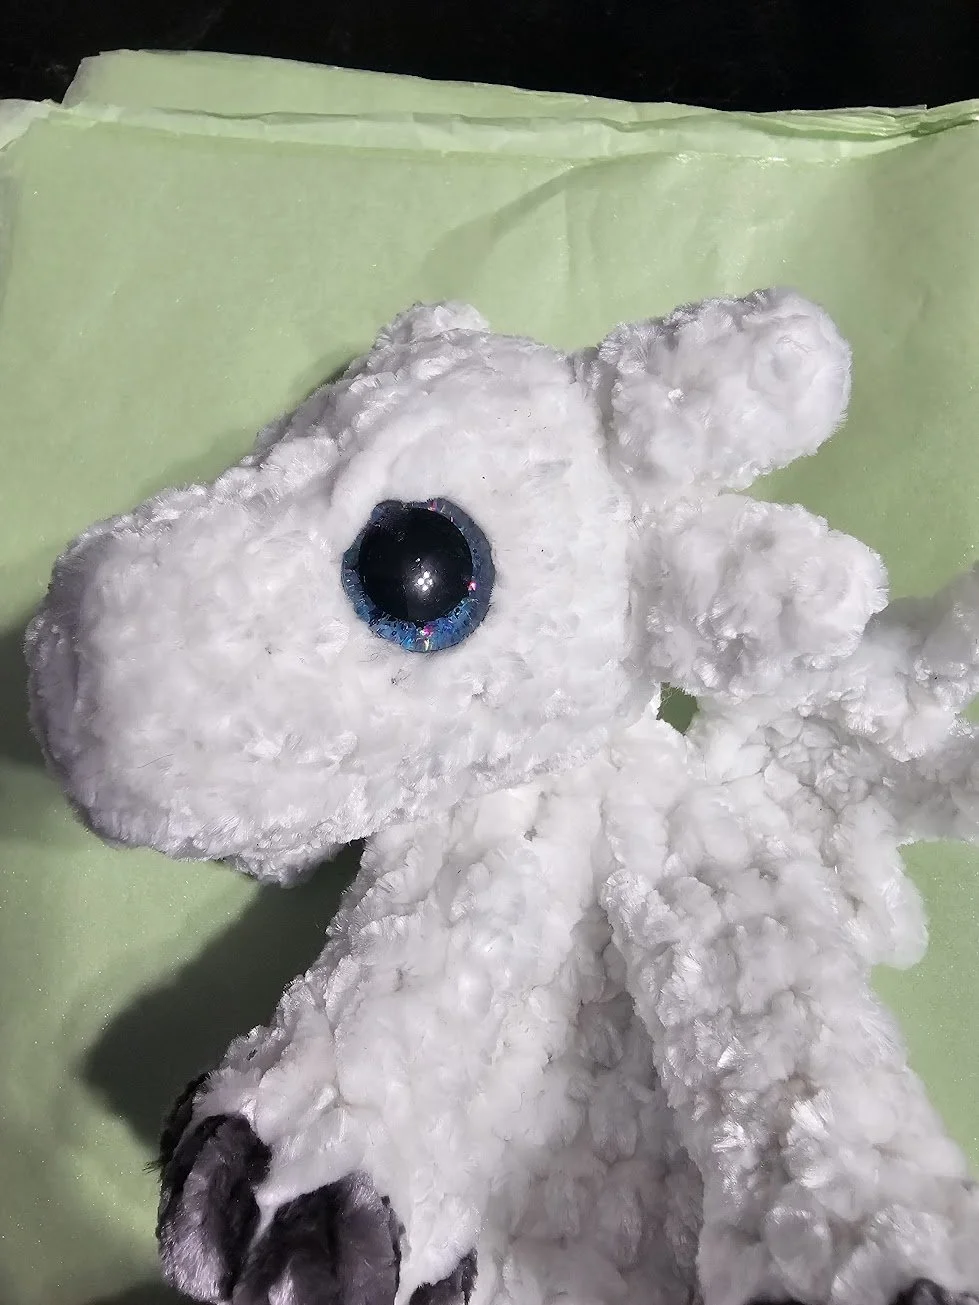
Color A (Alina): Bernat Velvet in White
Color B (Alina): Bernat Velvet in Vapor Gray
Hook that goes with the yarn you use. I used a 3.5mm
Scissors
Stuffing
Safety Eyes ( I used 16mm)
Yarn Needle
Optional Extras: If you want to make one for a baby, try embroidering eyes. The paws are big enough to add small round rattles into.
Pattern
Parts Skipped
You will not need to make the horns or frills from the original Jade pattern for Cole or Alina
Arms and Feet
With Color A on Cole and A and B for Alina, refer to the original Jade pattern
Wings
With Color A, refer to the original Jade pattern.
Body
With Color A, refer to the original Jade pattern.
Head
With Color A, refer to the original Jade pattern, except for R9, work the stitches without crocheting in the frills.
Ears (Cole)
Make 2. In Color A
R1: 3sc in a magic ring (3)
R2: inc, 2sc (4)
R3: 4sc (4)
FO and leave tail for sewing
Ears (Alina)
Make 2. In Color A
R1: 5sc in a magic ring (5)
R2-3: 5sc (2 rounds of 5)
FO and leave tail for sewing
Small Head Spikes (Cole)
In Color A
Attach yarn 2 stitches below the first ear
R1: ss, *ch3, starting in the 2nd ch from hook, ss, sc, ss back to body*, ss to the next stitch, repeat *
FO and weave in ends
Repeat R1 on top of the head, between the ears, and then again on the opposite side of the head, below the 2nd ear.
Small Head Spikes (Alina)
Make 2. In Color A
R1: 3sc in a magic ring (3)
R2: inc, 2sc (4)
R3: 4sc (4)
FO and leave tail for sewing
Tail Fins
This piece is worked in Rows. In Color A, attach yarn to R3 of the right side of the tail, you want to make sure the fins are parallel to the body.
R1: sc in each R on the tail from R3-R1. (3)
R2: ch3, turn, starting in the 2nd ch from hook, ss, 4sc, ss to R4 of the tail (5)
R3: ch1, turn skip the ss, ss, 2hdc, sc, ss (5)
R4: going along the bottom of the tail fin, ss down to the magic ring of the tail. (3)
FO and weave in ends.
Repeat on the left side with Color B


Assembly
Feet to Body
Refer to original Jade pattern for placement
Wings to Body
Refer to original Jade pattern for placement
Ears to Head
The ears should go about 2 rounds behind the eyes, with 3-4 stitches between ears
Congratulations! You’ve Finished!
Thank you for supporting my small business! I hope you enjoyed this pattern. Please do not reproduce, sell or hand out my pattern in any way. However you are free to sell your finished product, just credit me (@WolvynCreations) with the design and tag me in your posts. I’d love to see your finished work!

